Thursday, June 5, 2014

10 Steps to Sewing a Yurt


So I figured you all would be curious to see how all the pieces of a yurt go together! I included a picture below that lays out the basic structure of a yurt so you get an idea of what it is and how it's made.

I tried to make it as easy to follow as possible, but included all of the basic steps for preparing and sewing our yurt. This is just a post for the fabric and insulation, I'll include a follow up post with all the woodwork and another on the day we finally put the yurt together!


Step 1: Cutting and Taping Wall Insulation
It all begins with insulation! Using radiant heating, this thin foil will keep the yurt warm in winter and cold in the summer! The insulation comes in one continuous roll, which we then have to cut to the same size as the wall panels for the yurt. To connect all the insulation panels together, we go through and use a white tape on the white side of insulation and a tin foil reflective tape on the foil side. This allows the insulation to reflect the most radiant heat. 
It gets wrapped up at one big roll and is ready to be put up at the yurt site! The left side of the roll will be the bottom of the wall, and the right side will be the top. 

Step 2: Cutting and Taping Roof Insulation
Cutting roof insulation is a bit trickier than the wall insulation. Essentially, we need a single piece of insulation in the shape of a cone. Each roof size has different measurements, but in our case, we're making a 30' roof in a 30' yurt.. not an easy task! In order to have enough room to work, we fold the roof into quarters.

To do this, we tape together long strips of insulation and fold it so it is four layers thick. We then go through using a big PVC compass and draw out a quarter of the diameter around the roof. 
After the measurements are made and drawn out, we make one cut for the entire roof! Above you can see what a quarter of the roof looks like.
(Note: the Cut we made is only enough to make the insulation a flat circle. We make a few other measurements and cuts so that the finished insulation fits together to make a cone.)
This is what a finished roof looks like. This is actually a 18' yurt roof, because it's the only one big enough to fully open inside!

Step 3: Cutting and Sewing Wall Panels
Just like the wall insulation, we roll the fabric out and cut it so it's the height of the wall and then sew it all together so you get one long roll of fabric for the wall!

Step 4: Sewing Webbing onto Wall Panels
Once all the panels are stitched together, we go through and put a Webbing Band around the top and bottom of the wall panels. With a 30' yurt, that's about 100 feet of webbing on the top and another 100 feet of webbing on the bottom! The Webbing Band reinforces the fabric so you can connect it to the roof. 2+ hours to sew all this!

Step 5: Punching Grommets onto Wall Panels
Here's our wall panels with the Webbing Band attached. (The bottom Webbing Band is on the underside of the wall panels.) Here's Allison measuring out the location for the grommets before we punch them in!
Once the grommets are punched, we put clips in them. The picture above shows the top band of our wall. The clips will get attached to the tension cable that supports the yurt.

Step 6: Cutting Roof Fabric
To get the fabric for the roof, we adjust the measurements a bit and repeat the same process we did for the roof insulation! Here's Eli and Hal giving us a hand with the roof! 

Step 7: Prepping Bands to go around Roof
Now that we're done with the walls, we go back to the roof! After the roof circle is cut, we have to attach a few more support bands that will go around the circumference of the roof. We stretch out a long piece of fabric and fold it over until we have 8 layers so it's easier to cut!
There's three different size band widths that we cut for the roof. These get joined together to create three long bands that will go around the circumference of the circle.

Step 8: Folding and Grommiting Roof Bands
The one band gets folded and grommeted. Once the band attaches to the roof, it can be hooked to the tension cable around the yurt.
This is the grommet press that punches the grommets into the fabric. Here we are grommeting the band just as did to the wall panels.
Step 9: Sewing Roof Bands to Roof
Here's a picture where you can see the three bands attached to the edge of the roof. 
Once it's all folded over and sewn, the edge of the roof is complete! This picture actually shows the underside of the roof. The widest band acts to protect and cover the edge so you can't see the tension cable when it's all hung up! The tension cable will then weave in between the grommets and connect the roof to walls.

Step 10: Sewing Webbing to Inside Dome on Roof
Here's the middle of the roof. We cut out a circle so this is where the solar dome window will go when the yurt is built!
Sewn and the roof is finished!


That's it for the fabric and insulation! All together, it only took a couple of days to complete, and that's while we were learning the ropes! The next step will be cutting the lattice boards for the walls and the rafter beams for the roof.

It's been such a fun process to be working with great people while we get to put a little bit of time and love into building our own house! We'll keep you all updated as we continue the building process!

Saturday, May 17, 2014

Laurel Nest Yurts (Yurt Place) - Preview

Sooo, since I just updated the blog on land progress, figured I'd fill everyone in with the yurt building! Throughout the past month, we've been informally talking with Hal (the yurt guy) about plans for designing and building out yurt. Hal says it's usually a pretty steady business and we shouldn't have a problem getting ours done in the near future. 

Unfortunately, by the time we got back from visiting everyone for Easter, Hal got 4 more orders in! He says it's the busiest he's ever been and between the extra orders and a planned vacation for Hal, he wasn't going to be able to finish our yurt until August. 

It was a stressful day when we heard the news, but it was not the first time things went differently than planned. As hard as it is to let go of the stress and control, we've slowly been learning to embrace the challenges that come up as new opportunities. 

So far, throughout our whole adventure, everything has worked out in the best way (even if we didn't think so at the time!) It definitely seems like there's a larger force here that knows the big picture better than we do. Understanding this has really gotten us to slow down and look at everything from a new perspective. A big part of this adventure is us trying to live our lives in a way that is more harmonious and happy, but it's such a great feeling to actually see how well it's been working!

With this new encouragement, we decided to make a trip back to Hal and see if we could work something out. Hal's been one of our most influential connections since we got down to NC and has openly been there to help us whenever we need. We saw this as a chance to return the favor and help get him caught up with his yurt orders and work on our yurt at the same time! 

Even better, but we're both getting paid $12 an hour which gets subtracted off the final price of our yurt! Between that and using discounted parts and our own labor, we've gotten the price of our yurt down to less than half of the original cost! yeah babyy

We just started helping out this week so thought we'd upload some pictures so far!

Here's Laurel Nest Yurts! Hal and his Wife, Asia have been so warming in inviting us into their home. They also have a cute little girl, Emilia who's always running about playing! They do some small homesteading so you can see the retention walls for all their blueberry bushes. And their website for anyone who's curious to see more about what we're doing!      www.laurelnestyurts.com

Laurel Nest - Half business, half homesteading family!

Chickens and a bunch of different herbs and gardens.

This is where we'll be spending most of our time! The top is a 30' yurt (the same size we're building) and acts as the fabric preparation room. The bottom is actually a wood version of a yurt, but uses the top yurt as a roof! Talk about being efficient haha it may not be the prettiest thing, but they try conserving materials and everything on site is made with leftover parts.

Prep room and storage yurt on the bottom right. 

Here's the inside of the 30' yurt! This is about the cleanest you'll ever see it haha the big white roll in the back is the insulation for the yurt. The insulation is basically bubble wrap which has pockets of air on one side and has a reflective foil on the other side. The reflective foil is similar to what spaceships use and acts as radiant barrier and essentially reflects the heat and sun off of the house to keep it cool on the inside cold.

Our job is measuring and cutting it to the right height and then taping it together so it can be used to line the inside of the walls. 800,000 panels later, we're finished!

The first day working, Hal showed us how to measure and cut the outside fabric for our yurt walls. That's the rolled up green bundles on the floor! The fabric is actually discounted fabric that Hal had left over, so we got it for a really good price. Best part, we can paint it whatever color we want!

Here's the bottom of the two story yurt which acts as the sewing room. Hal says about 80% of the yurt building is done in the sewing shop haha notice the green fabric on the table!? That's what we'll be working on next week =)

Because the fabric walls are so large, they require lots of table space and usually an extra person to help feed the fabric through the machine.

Just another picture of Laurel Nest! 
We only worked a few days this week and commuted between our land and the yurt place. Since it's a long commute, Hal was super chill and even offered for us to camp or stay in an extra yurt while working here! Best part, it's free and allows us to bring Abby while we work! Not a bad way if you're looking to get out of the tent and camping for a couple days, huh!? 

We'll keep you all updated next week on how everything goes!

Friday, May 16, 2014

Spring has begun!

Finally got back down to North Carolina. It was nice getting out of the wilderness for a while and getting to spend time with family and friends over Easter! It's amazing how much you take for granted the common luxuries such as a bed haha As much as we enjoyed our break with family, we were itching to get back down and starting working on the land again! 

The last time we were down in Bryson City, the trees were just starting to bud. Now that we're back down south, it seems to have changed a little!

Another fun 8 hour drive and here's our exit! Right off of Smokey Mountain Expressway (Route 74). From here, it's only a 15 minute drive to the top of our lot. The gas station on the right is also where we have our storage locker. We have our own surplus of books, clothing, camping supplies and other random things. It's right on the way into town too, so we'll usually stop here throughout the week while running about town. Convenient, ayee?

Over the bridge and through the woods, to our mountain lot we gooo.

Long winding roads off the highway towards our lot. It's not so bad when we have to run around for things because driving down here is so scenic! Lots of forests, creeks, and cute little homesteads along the road.


Here's 2 horsies right across the creek at the bottom of our Community. We usually end up driving past them to say hello =) Might be a future place to network with if we ever decided to get a horse down here.. hmm

Driveway to bottom lot is nice and lush now! Would probably even look better if we wanted to put up some homemade trellises and have vines arching over the driveway.. hmmm

The weather is constantly changing in the mountains! The weathermen are pro's down here too. Any time there's a cloud in the sky, we have a 50% "chance" of rain.. everyyy time. haha That's mountain weather for yuh! Here's a picture from the top lot after we got a quick rain shower. 

Clouds in the valley on the road down the community. Reminds me of cotton candy..

Here's another picture of the creek that runs right at the bottom of our community.

Fun play time at the creek! She's still such a puppy haha

It only took her about 10 secs before she was swimming around in the water. Definitely a big girl now. (Her last swim encounter was 6 inches of water in her baby pool.) She wasn't so sure about the deep water at first, but every time we turned around she's just swimming around again! Playing fetch with a moving current definitely threw in an extra dynamic haha

Playing with another "stick." She's progressively been grabbing bigger ones but at least it helps fuel the fire!

Late night breakfast dinner! Breakfast skillet compliments of Chef Allison. 

We've really been working hard on presenting ourselves in our best Southern sense. I think we're pulling it off pretty well. 
Abby 2 - Stick 0

Allison's working on her best "Bear Face"... Allison 1 - Bear 0. We like to have fun while we work down here =)

We've been getting lots of sun working on the lot! Anytime we get some free time, it usually ends with pulling weeds, raking leaves, thinning out the underbrush or otherwise preparing the lot! 

Here's some before and after pics!

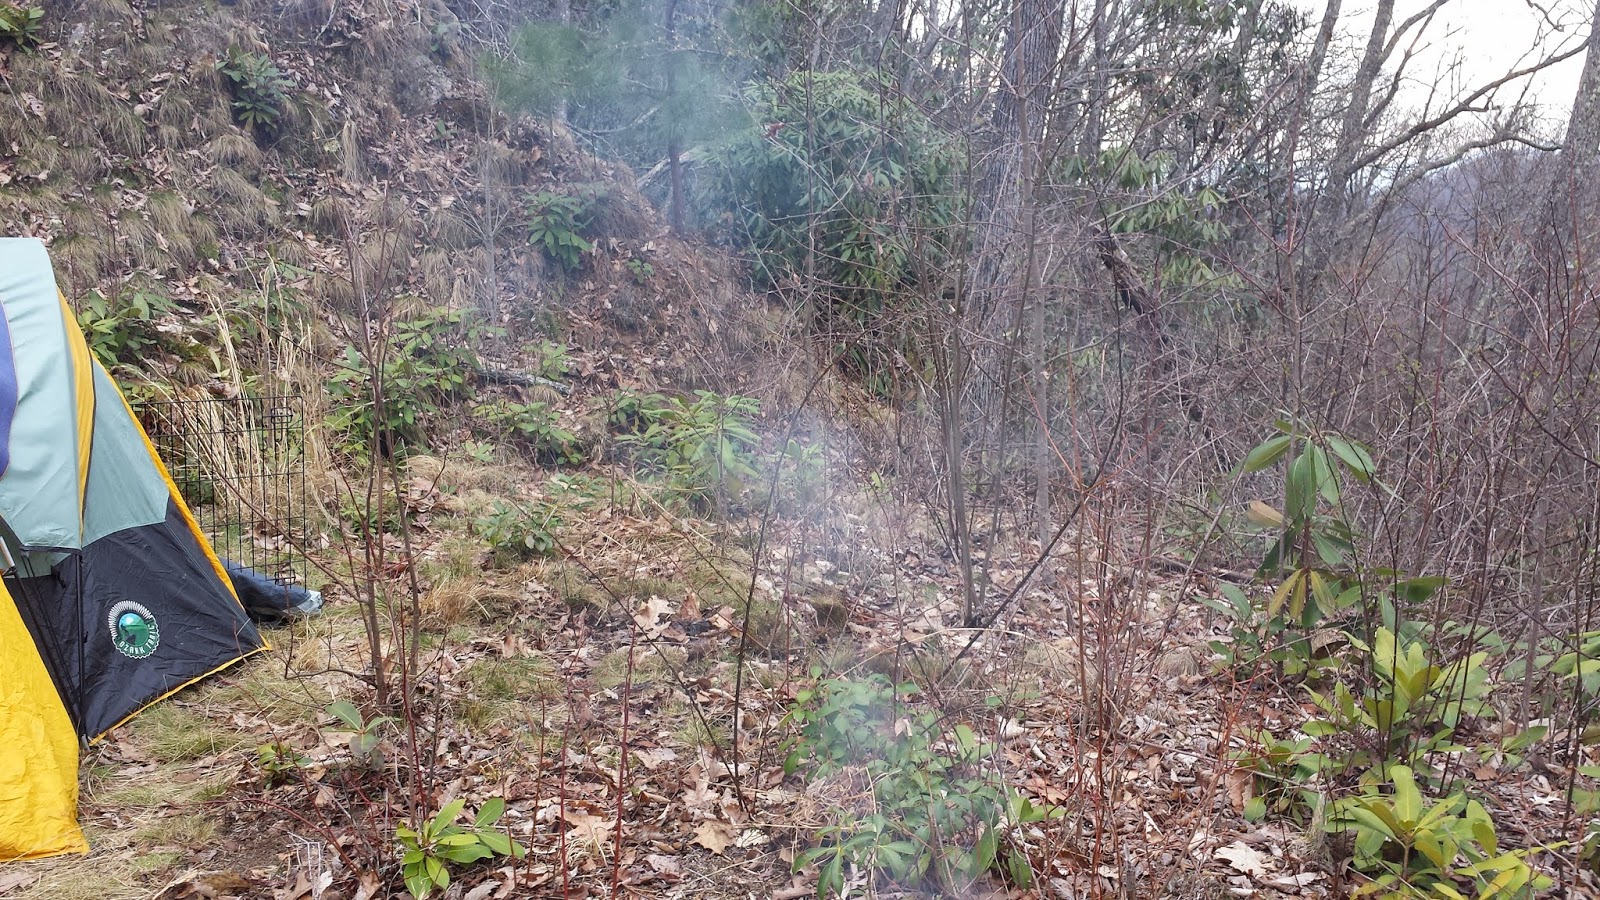
Before: The soon to be location of our yurt!
 
 
After: Yurt homesite - complete!

Before: Parking turn around on driveway


After: Controlled burns still in progress, but all cleared up!

Before: Future garden/yard


After: Cleared out lot! Coming soon - mountainous view